
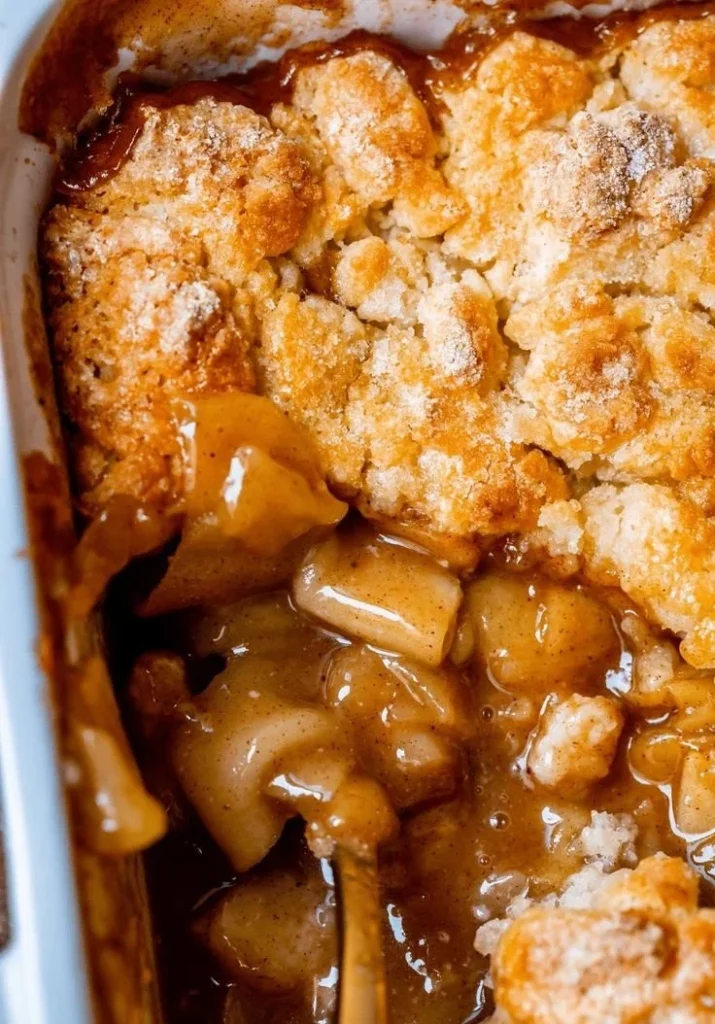

This Easy Homemade Apple Cobbler is the perfect dessert for any occasion. It’s warm, comforting, and full of delicious apple flavor. You can whip it up quickly using simple ingredients, making it an excellent choice for family gatherings or a cozy night in. Plus, it’s a great way to use fresh apples in your home! You may also find Apple And Brie Stuffed Chicken Easy useful.
Why Make This Recipe
There are many reasons to try this apple cobbler. First, it is a simple and quick recipe that anyone can follow. Second, the combination of apples with cinnamon creates a warm and inviting flavor. Finally, it is a crowd-pleaser—perfect for serving at holiday dinners or get-togethers. If you enjoy fruit desserts, you might also want to try an almond flour peach cobbler for a tasty variation!
How to Make Easy Homemade Apple Cobbler
This recipe is straightforward and involves mixing the apple filling and a quick batter. You’ll pop everything together in a baking dish and let the oven do the work. It will fill your kitchen with a wonderful aroma as it bakes. You may also find Bbq Pineapple Chicken Kabobs Easy useful.
Ingredients
- 6 cups sliced apples
- 1 cup sugar
- 1 teaspoon cinnamon
- 1 tablespoon lemon juice
- 1 cup all-purpose flour
- 1 cup buttermilk
- 1/2 cup butter, melted
- 2 teaspoons baking powder
- 1/2 teaspoon salt
- 1 teaspoon vanilla extract
Directions
- Preheat the oven to 350°F (175°C).
- In a large bowl, toss sliced apples with sugar, cinnamon, and lemon juice.
- Spread the apple mixture in a greased 9×13 inch baking dish.
- In another bowl, whisk together flour, baking powder, salt, and sugar.
- Gradually add buttermilk and melted butter, and mix until just combined.
- Pour the batter over the apples, spreading it evenly.
- Bake for 40-45 minutes, or until the top is golden and a toothpick comes out clean.
- Let it cool slightly before serving. Enjoy your homemade apple cobbler!
How to Serve Easy Homemade Apple Cobbler
Serve the apple cobbler warm, topped with a scoop of vanilla ice cream for a delightful treat. It also pairs well with whipped cream or a sprinkle of cinnamon on top.
How to Store Easy Homemade Apple Cobbler
To store leftover cobbler, cover it with plastic wrap or foil and keep it in the refrigerator for up to three days. You can reheat it in the oven or microwave before serving.
Tips to Make Easy Homemade Apple Cobbler
- Choose a mix of sweet and tart apples for the best flavor.
- Make sure to slice the apples evenly to ensure uniform cooking.
- Experiment with different spices, like nutmeg or ginger, for a unique twist.
- For a fun addition, sprinkle some oats in the batter for extra texture.
Variations
Try adding nuts, like walnuts or pecans, to the apple mixture for extra crunch. You can also swap the apples for other fruits, such as peaches or cherries, for a different taste. Another fun idea is to make a crumble topping instead of a batter.
FAQs
- Can I use other types of apples? Yes, mixing different types of apples can enhance the flavor.
- How long does it take to bake? It usually takes about 40-45 minutes until golden brown.
- Is it better warm or cold? It’s delicious warm, but some people enjoy it cold too!
Conclusion
This Easy Homemade Apple Cobbler is a fantastic dessert that is sure to impress your family and friends. If you’re looking for more apple dessert ideas, you can check out this Easy Apple Cobbler Recipe on Allrecipes for a different take, or explore delicious options like Easy Apple Cobbler – Mix & Match Mama for inspiration. For a wholesome twist, consider this Easy Apple Cobbler Recipe Fresh from the Apple Farm. Enjoy your baking!
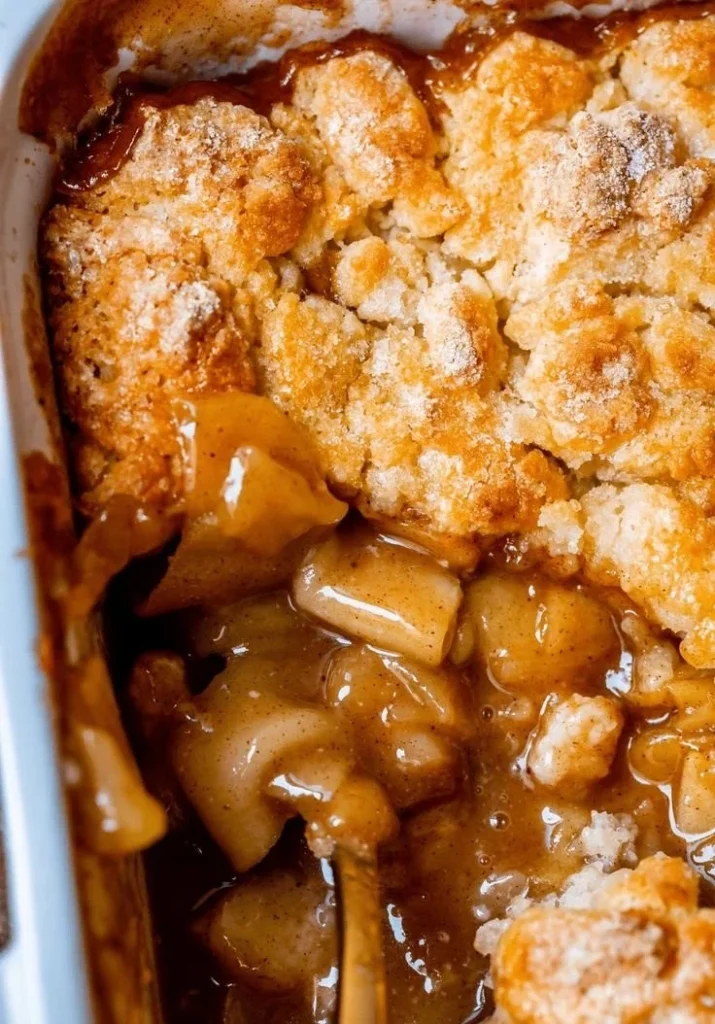
Easy Homemade Apple Cobbler
Ingredients
Method
- Preheat the oven to 350°F (175°C).
- In a large bowl, toss sliced apples with sugar, cinnamon, and lemon juice.
- Spread the apple mixture in a greased 9x13 inch baking dish.
- In another bowl, whisk together flour, baking powder, salt, and sugar.
- Gradually add buttermilk and melted butter, and mix until just combined.
- Pour the batter over the apples, spreading it evenly.
- Bake for 40-45 minutes, or until the top is golden and a toothpick comes out clean.
- Let it cool slightly before serving.