

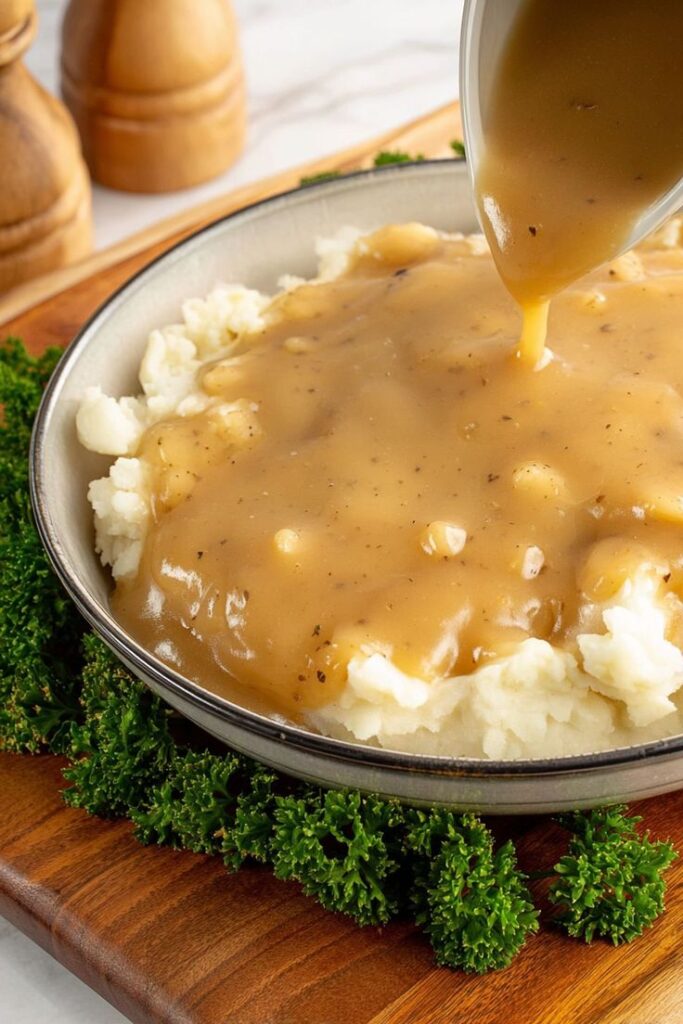
There’s nothing quite like a velvety, homemade gravy to elevate a meal. Whether you’re drizzling it over mashed potatoes, roasted meats, or biscuits, a well-made gravy can turn a simple dish into something extraordinary. Today, we’re sharing foolproof recipes, including a 3 ingredient brown gravy that’s incredibly easy to make. Plus, we’ll show you how to master easy homemade gravy with minimal effort and maximum flavor.
Table of Contents
3 Ingredient Brown Gravy
Creamy & Rich 3 Ingredient Brown Gravy
This 3 ingredient brown gravy is a game-changer for busy cooks. With just a few pantry staples, you can whip up a smooth, savory gravy that pairs perfectly with roasted meats, mashed potatoes, or even meatloaf.
Ingredients
– 2 cups beef broth (low-sodium preferred)
– 3 tbsp all-purpose flour
– 3 tbsp unsalted butter
– Salt and black pepper to taste (optional)
Step-by-Step Instructions
1. Melt the Butter: In a medium saucepan, melt the butter over medium heat.
2. Whisk in Flour: Add the flour and whisk continuously for 1–2 minutes until a smooth paste (roux) forms. This step is crucial for a lump-free easy homemade gravy.
3. Gradually Add Broth: Slowly pour in the beef broth while whisking vigorously to prevent clumps.
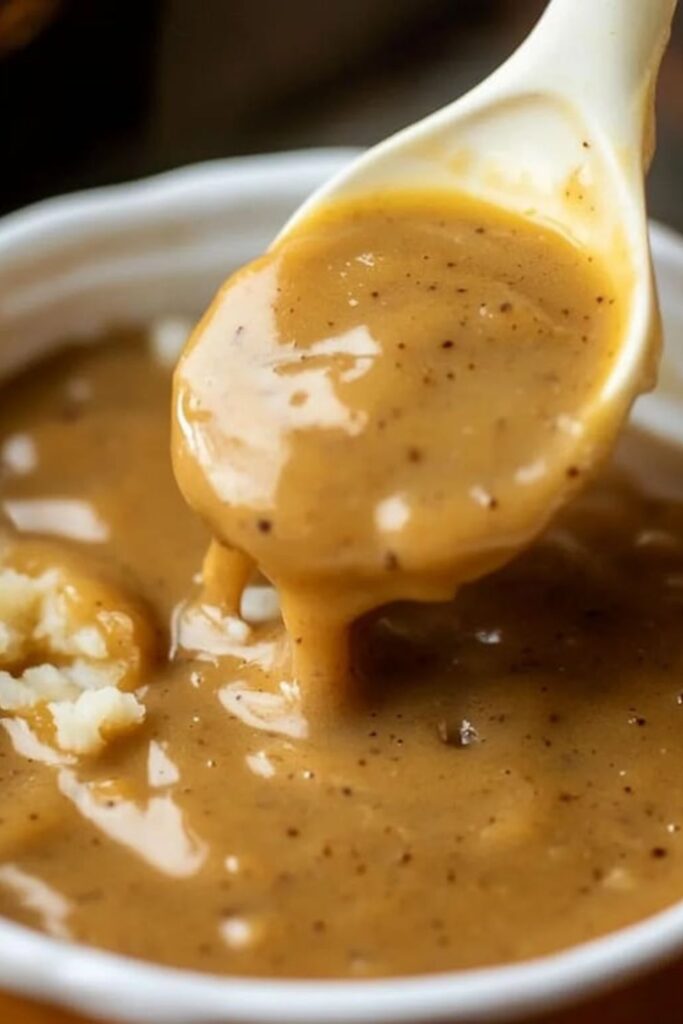
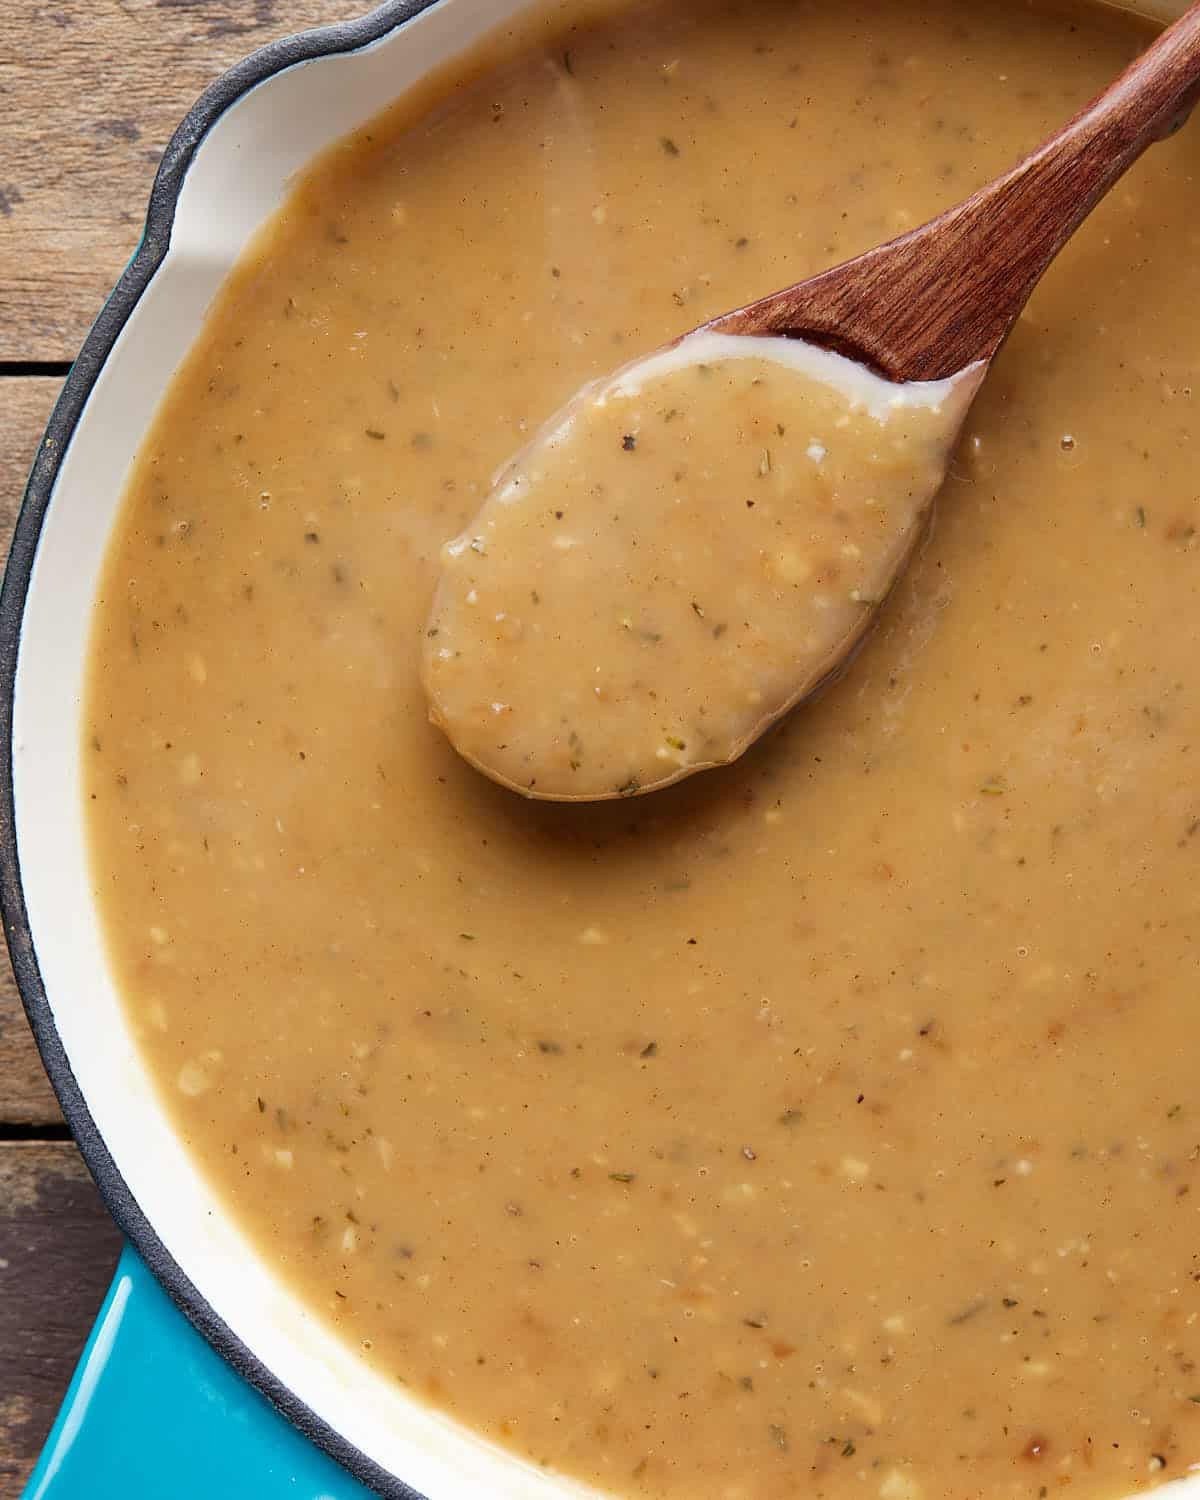
4. Simmer & Thicken: Bring the mixture to a gentle boil, then reduce heat to low. Let it simmer for 5–7 minutes, stirring occasionally, until the gravy thickens to your desired consistency.
5. Season: Taste and adjust with salt and pepper if needed.
Tips & Variations
– For Extra Flavor: Add a splash of Worcestershire sauce or a pinch of garlic powder.
– Gluten-Free Option: Swap all-purpose flour for cornstarch or a gluten-free flour blend.
– Herb-Infused Gravy: Stir in a sprig of fresh thyme or rosemary while simmering.
Serving & Storage
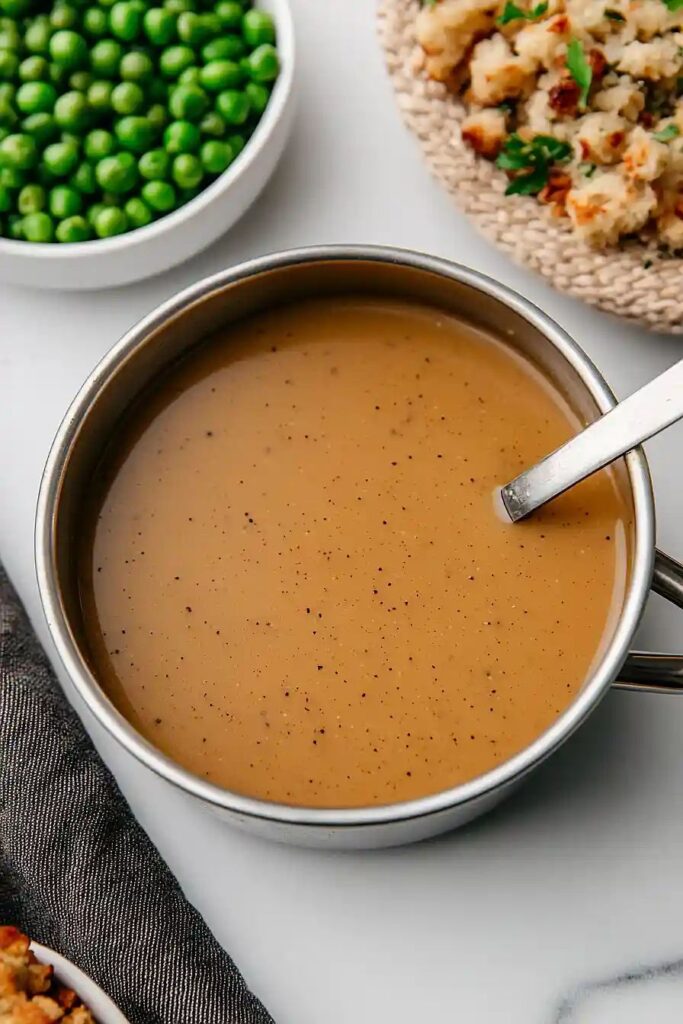
– Serving: Drizzle over mashed potatoes, roasted turkey, or open-faced sandwiches.
– Storage: Store in an airtight container in the fridge for up to 3 days. Reheat gently on the stove, adding a splash of broth if needed.
– Freezing: Freeze for up to 3 months. Thaw overnight in the fridge before reheating.
Nutritional Benefits / Advantages
– Low-Calorie: Each serving (¼ cup) has roughly 50–60 calories.
– Rich in Flavor: Despite its simplicity, this 3 ingredient brown gravy delivers deep, savory notes.
– Versatile: Works with almost any savory dish.
Common Mistakes to Avoid
– Lumpy Gravy: Always whisk constantly when adding broth to the roux.
– Overcooking: Simmering too long can make the gravy too thick. Thin with broth if needed.
– Underseasoning: Taste before serving—sometimes store-bought broth needs extra salt.
Conclusion for this Recipe
This 3 ingredient brown gravy is proof that you don’t need a long ingredient list to make something delicious. Whether you’re a beginner or a seasoned cook, this easy homemade gravy will become a staple in your kitchen.
Classic Pan Gravy (Using Drippings)
Savory Pan Gravy from Meat Drippings
If you’ve ever roasted a chicken or turkey, you know the golden drippings left behind are liquid gold. This classic pan gravy recipe transforms those drippings into a rich, flavorful sauce.
Ingredients
– 2 cups pan drippings (from roasted meat)
– 3 tbsp all-purpose flour
– 2 tbsp unsalted butter (if drippings are low in fat)
– 1 cup chicken or turkey broth (as needed)
– Salt and black pepper to taste
– 1 tsp fresh herbs (thyme, rosemary, or sage)
Step-by-Step Instructions
1. Strain the Drippings: After roasting meat, pour the pan drippings through a fine-mesh strainer into a measuring cup. Skim off excess fat (leave about 3 tbsp for the roux).
2. Make the Roux: In the same pan, heat the drippings (or add butter if needed) over medium heat. Whisk in the flour and cook for 1–2 minutes.
3. Deglaze the Pan: Pour in 1 cup of broth, scraping up any browned bits (fond) from the bottom of the pan—this adds incredible flavor to your easy homemade gravy.
4. Simmer & Season: Add the remaining drippings and broth, then simmer for 5–7 minutes until thickened. Stir in herbs, salt, and pepper.
Tips & Variations
– For Extra Depth: Add a splash of white wine or apple cider vinegar while deglazing.
– Creamy Gravy: Stir in 2 tbsp of heavy cream at the end for a richer texture.
– Vegetarian Option: Use mushroom broth and olive oil instead of meat drippings.
Serving & Storage
– Serving: Perfect for holiday meals—drizzle over turkey, stuffing, or roasted vegetables.
– Storage: Keeps in the fridge for up to 4 days. Reheat on the stove, stirring occasionally.
– Freezing: Freeze for up to 2 months. Thaw and reheat gently.
Nutritional Benefits / Advantages
– Packed with Flavor: Uses natural meat juices for a deeper taste.
– No Artificial Additives: Unlike store-bought gravies, this version is free from preservatives.
– Customizable: Adjust thickness and seasoning to your preference.
Common Mistakes to Avoid
– Skipping the Fond: Those browned bits are pure flavor—don’t leave them behind!
– Rushing the Roux: Cooking the flour too quickly can leave a raw taste.
– Over-Thinning: Add broth gradually to avoid a watery gravy.
Conclusion for this Recipe
Pan gravy is the ultimate way to maximize flavor from your roasted meats. This easy homemade gravy technique ensures every drop of deliciousness ends up on your plate.
Final Conclusion
Homemade gravy doesn’t have to be complicated. Whether you opt for the simplicity of a 3 ingredient brown gravy or the rich depth of a pan gravy, these recipes prove that a little effort goes a long way. The key to a perfect easy homemade gravy lies in mastering the roux, balancing seasonings, and using quality ingredients.
Now that you have these foolproof methods, there’s no need to rely on store-bought versions. Impress your family and guests with gravies that taste like they came from a gourmet kitchen—all while keeping it simple and stress-free.
FAQs
1. Can I make gravy ahead of time?
Yes! Both recipes can be made 1–2 days in advance. Store in the fridge and reheat gently on the stove, adding a splash of broth if needed.
2. How do I fix lumpy gravy?
Whisk vigorously while adding liquid, or strain the gravy through a fine-mesh sieve to remove lumps.
3. What’s the best way to thicken gravy?
A roux (butter + flour) is the most reliable method. For a gluten-free option, use cornstarch slurry (1 tbsp cornstarch + 1 tbsp cold water per cup of liquid).
4. Can I use chicken broth instead of beef broth in the 3-ingredient gravy?
Absolutely! Chicken broth works well for a lighter gravy, especially with poultry dishes.
5. How do I make gravy without drippings?
Use the 3 ingredient brown gravy recipe as a base, or sauté finely chopped mushrooms and onions in butter before adding flour and broth for extra flavor.
Now, grab your whisk and get ready to make the best gravy of your life! Which recipe will you try first? Let us know in the comments. 🍽️✨
3 Ingredient Brown Gravy
Ingredients
Method
- In a medium saucepan, melt the butter over medium heat.
- Add the flour and whisk continuously for 1–2 minutes until a smooth paste (roux) forms.
- Slowly pour in the beef broth while whisking vigorously to prevent clumps.
- Bring the mixture to a gentle boil, then reduce heat to low.
- Let it simmer for 5–7 minutes, stirring occasionally, until the gravy thickens to your desired consistency.
- Taste and adjust with salt and pepper if needed.