

There’s something magical about homemade ice cream that store-bought versions simply can’t replicate. The rich, velvety texture and intense chocolate flavor make every spoonful feel like a special treat. If you’ve ever thought making ice cream at home requires expensive equipment or complicated techniques, prepare to have your mind blown. This 3 ingredient chocolate ice cream recipe is about to become your new favorite dessert hack.
What makes this recipe truly remarkable is its simplicity. With just three pantry staples, you can create a luxuriously smooth frozen dessert that rivals premium ice cream shops. This no churn chocolate ice cream method eliminates the need for an ice cream maker entirely, making gourmet desserts accessible to everyone. Whether you’re a busy parent, a college student, or simply someone who loves delicious shortcuts, this recipe delivers impressive results with minimal effort.
Table of Contents
Heavenly 3 Ingredient Chocolate Ice Cream
This decadent chocolate ice cream requires no special equipment, no cooking, and just minutes of active preparation time. The secret lies in using heavy whipping cream, which creates that signature creamy texture when whipped and frozen.
Ingredients
– 2 cups heavy whipping cream (cold)
– 1 can (14 oz) sweetened condensed milk
– ½ cup unsweetened cocoa powder (Dutch-process preferred)
Step-by-Step Instructions

Step 1: Prepare the Chocolate Base
In a medium bowl, whisk together the sweetened condensed milk and cocoa powder until completely smooth. Make sure there are no lumps remaining, as these will affect the final texture. Set this chocolate mixture aside.
Step 2: Whip the Cream
In a large, chilled mixing bowl, pour the cold heavy whipping cream. Using an electric mixer or stand mixer fitted with the whisk attachment, beat the cream on medium-high speed until stiff peaks form. This typically takes 3-4 minutes. The cream should hold its shape when you lift the whisk.
Step 3: Fold the Mixtures Together
Gently fold the chocolate mixture into the whipped cream using a rubber spatula. Use slow, sweeping motions from the bottom of the bowl upward to maintain as much air as possible. This folding technique is what makes your 3 ingredient chocolate ice cream so wonderfully light and creamy. Continue folding until the mixture is uniform in color with no white streaks remaining.
Step 4: Freeze
Transfer the mixture to a freezer-safe container (a 9×5 loaf pan works perfectly). Smooth the top with a spatula and cover tightly with plastic wrap, pressing it directly onto the surface to prevent ice crystals. This no churn chocolate ice cream method requires at least 6 hours of freezing time, though overnight yields the best results.
Step 5: Serve
Remove from freezer 5-10 minutes before serving to allow slight softening for easier scooping.
Tips & Variations
– Extra Rich Version: Add 4 oz melted and cooled dark chocolate to the condensed milk mixture
– Mint Chocolate: Stir in ½ teaspoon peppermint extract
– Mocha Twist: Add 2 tablespoons instant espresso powder
– Chocolate Chip: Fold in 1 cup mini chocolate chips after combining mixtures
– Nutty Delight: Add ½ cup chopped toasted almonds or hazelnuts
– Dairy-Free Option: Substitute coconut cream for heavy cream
Serving & Storage

Serving Suggestions:
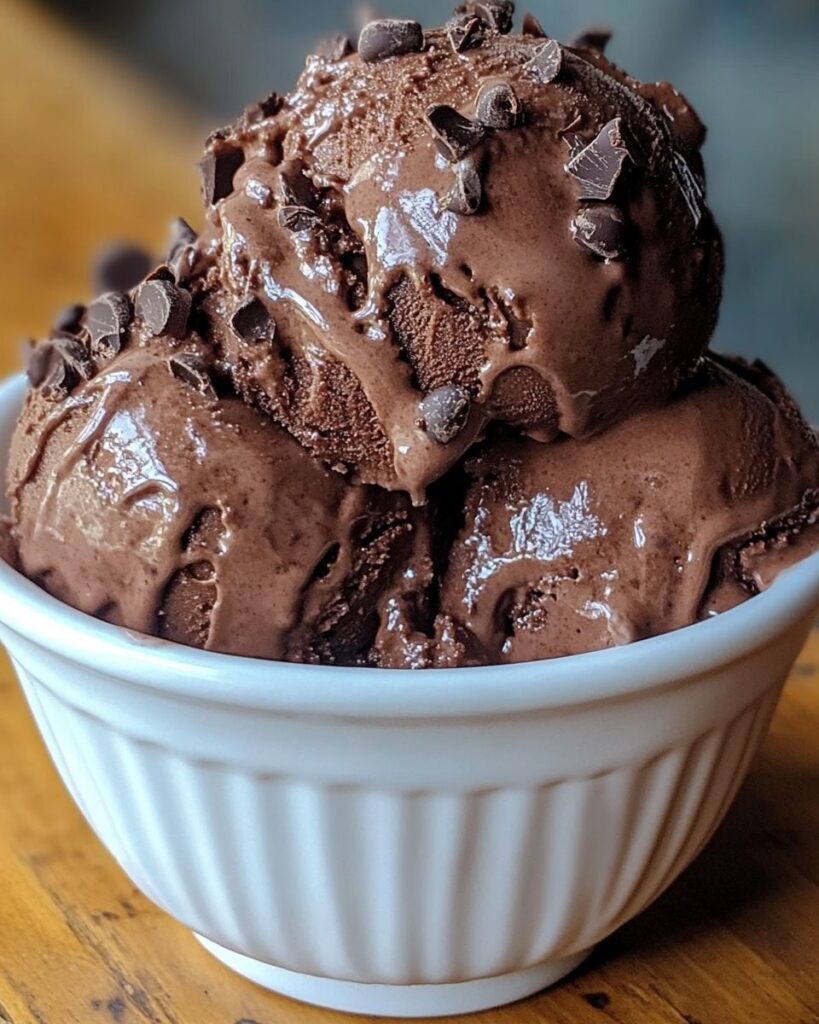
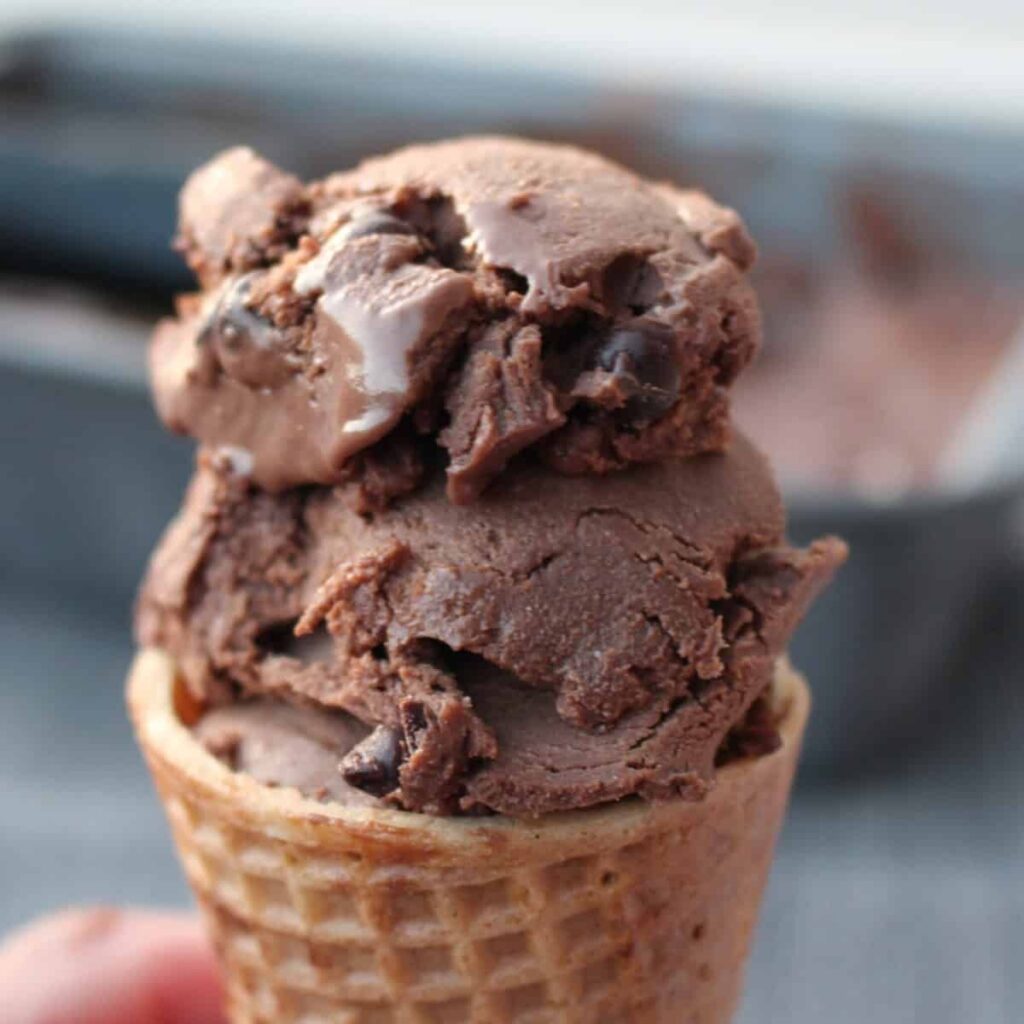
Scoop into chilled bowls or waffle cones for the classic experience. Elevate your presentation with chocolate shavings, fresh berries, whipped cream, or a drizzle of caramel sauce. This ice cream also makes an incredible base for milkshakes or ice cream sandwiches.
Storage Tips:
Store in an airtight container for up to 2 weeks. Press plastic wrap directly onto the ice cream’s surface before sealing to prevent freezer burn. For best texture, consume within the first week.
Meal Prep Ideas:
Prepare multiple batches in different flavors for variety. Portion into individual containers for grab-and-go desserts.
Nutritional Benefits / Advantages
While this is certainly an indulgent treat, it does offer some nutritional benefits:
– Contains calcium from the dairy products
– Cocoa powder provides antioxidants and flavonoids
– No artificial preservatives or stabilizers
– You control the quality of ingredients
– Lower in additives compared to commercial ice cream
Common Mistakes to Avoid
Not Using Cold Cream: Warm cream won’t whip properly. Chill your bowl and whisk attachment for best results.
Over-Mixing When Folding: Aggressive stirring deflates the whipped cream, resulting in dense, icy texture.
Skipping the Plastic Wrap: Direct contact prevents ice crystals from forming on the surface.
Using Low-Fat Substitutes: Full-fat cream is essential for the proper texture and richness.
Not Sifting Cocoa Powder: Lumpy cocoa creates an uneven texture and appearance.
Freezing Too Long Before Serving: Ice cream that’s frozen solid needs resting time at room temperature.
Conclusion for This Recipe
This 3 ingredient chocolate ice cream proves that extraordinary desserts don’t require extraordinary effort. The combination of whipped cream, sweetened condensed milk, and cocoa powder creates a foolproof base that’s endlessly customizable. Once you master this no churn chocolate ice cream technique, you’ll never look at store-bought options the same way again.
Final Conclusion
Making homemade ice cream has never been more accessible or rewarding. This three-ingredient wonder demonstrates that sometimes the simplest recipes yield the most impressive results. The beauty of this method lies in its versatility—you can customize flavors, add mix-ins, and create endless variations without any specialized equipment.
By following the techniques outlined in this guide, you’ll consistently achieve that coveted creamy, smooth texture that makes homemade ice cream so special. The key takeaways to remember are: always use cold ingredients, fold gently to preserve air, and allow adequate freezing time for the best consistency.
Whether you’re hosting a dinner party, treating your family, or simply satisfying a late-night craving, this recipe delivers restaurant-quality results from your home kitchen. The money you’ll save compared to premium store brands is just a bonus—the real reward is the incredible taste and the satisfaction of creating something delicious with your own hands.
So grab those three simple ingredients and start churning out (without actually churning!) batch after batch of this irresistible frozen treat. Your freezer—and your taste buds—will thank you.
FAQs
Q: Can I use regular cocoa powder instead of Dutch-process?
A: Yes, regular unsweetened cocoa powder works fine. Dutch-process cocoa produces a slightly mellower, more refined chocolate flavor, while natural cocoa offers a more intense, slightly tangy taste. Both create delicious results.
Q: Why is my ice cream icy instead of creamy?
A: This usually happens when the cream isn’t whipped to stiff peaks, the mixture is over-stirred during folding, or the ice cream wasn’t covered properly during freezing. Ensure you follow each step carefully for the creamiest texture.
Q: How long does homemade ice cream last in the freezer?
A: When stored properly in an airtight container with plastic wrap pressed against the surface, this ice cream stays fresh for up to 2 weeks. However, it’s best enjoyed within the first 7-10 days for optimal texture and flavor.
Q: Can I make this recipe sugar-free?
A: The sweetened condensed milk is crucial for both sweetness and texture. You can find sugar-free condensed milk alternatives, but results may vary. Some people use a combination of cream cheese and sugar substitutes, though this changes the recipe significantly.
Q: Why do I need to let the ice cream sit before scooping?
A: Homemade ice cream freezes harder than commercial varieties because it lacks stabilizers and emulsifiers. Letting it rest at room temperature for 5-10 minutes softens it just enough for smooth, easy scooping without compromising the frozen texture.