There’s something magical about that first sip of perfectly creamed coffee in the morning. If you’ve been relying on store-bought creamers filled with artificial ingredients and preservatives, it’s time for a delicious upgrade. Making your own homemade coffee creamer 3 ingredients is surprisingly simple, incredibly cost-effective, and allows you to customize flavors to your exact preferences.
Whether you’re looking to reduce processed foods in your diet, save money, or simply enjoy a fresher taste, homemade coffee creamer delivers on all fronts. The best part? You probably already have everything you need in your kitchen. This comprehensive guide will walk you through creating the perfect vanilla coffee creamer recipe that rivals any premium brand on the market.
Let’s transform your morning coffee ritual into something truly special!
Table of Contents
Classic Vanilla Bean Coffee Creamer
This silky-smooth vanilla creamer is the foundation for countless coffee shop-worthy beverages. With just three simple ingredients, you’ll create a rich, flavorful creamer that makes every cup extraordinary.
Ingredients
– 1 can (14 oz) sweetened condensed milk
– 1½ cups whole milk or half-and-half
– 2 teaspoons pure vanilla extract
Step-by-Step Instructions
Step 1: Gather your ingredients and select a clean glass jar or airtight container for storage. A mason jar works perfectly for this recipe.
Step 2: Pour the entire can of sweetened condensed milk into your container. This serves as the sweet, creamy base that gives your homemade coffee creamer 3 ingredients its luxurious texture.
Step 3: Add the whole milk or half-and-half to the condensed milk. The ratio can be adjusted based on your preference—more milk creates a lighter creamer, while half-and-half produces a richer result.
Step 4: Add the pure vanilla extract. For the best vanilla coffee creamer recipe results, use high-quality vanilla extract or even scrape fresh vanilla bean seeds for an elevated experience.
Step 5: Secure the lid tightly and shake vigorously for 30-45 seconds until completely combined. Alternatively, whisk everything together in a bowl before transferring to your storage container.
Step 6: Refrigerate for at least 30 minutes before using to allow flavors to meld together beautifully.
Tips & Variations
– Hazelnut Version: Replace vanilla extract with 1 teaspoon hazelnut extract
– Caramel Delight: Add 3 tablespoons caramel sauce to the base recipe
– Mocha Madness: Stir in 2 tablespoons chocolate syrup and 1 teaspoon instant espresso powder
– Sugar-Free Option: Use sugar-free condensed milk available at most grocery stores
– Dairy-Free Alternative: Substitute coconut cream and coconut condensed milk for a vegan version
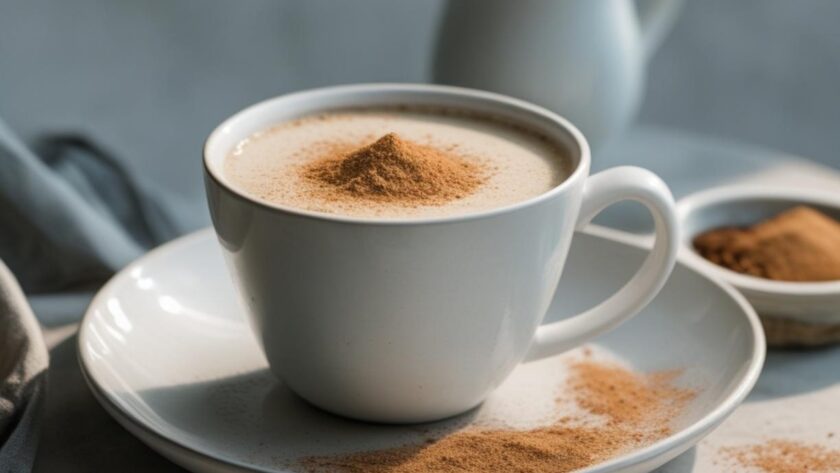
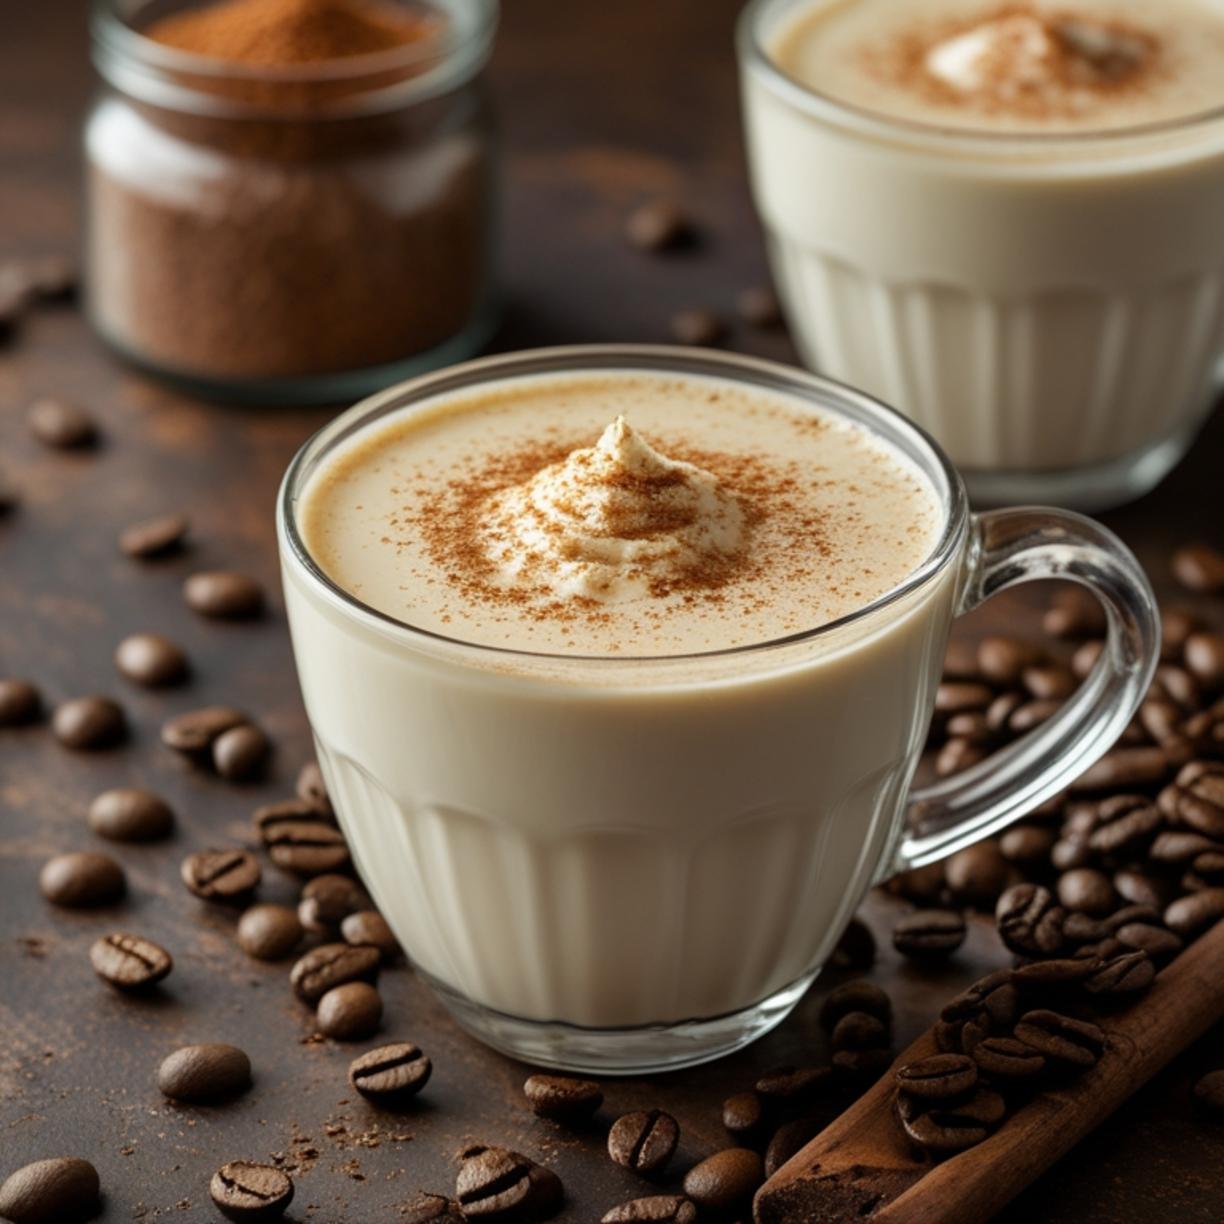
– Seasonal Spice: Add ½ teaspoon cinnamon and ¼ teaspoon nutmeg for fall-inspired flavor
Serving & Storage
Serving Suggestions:
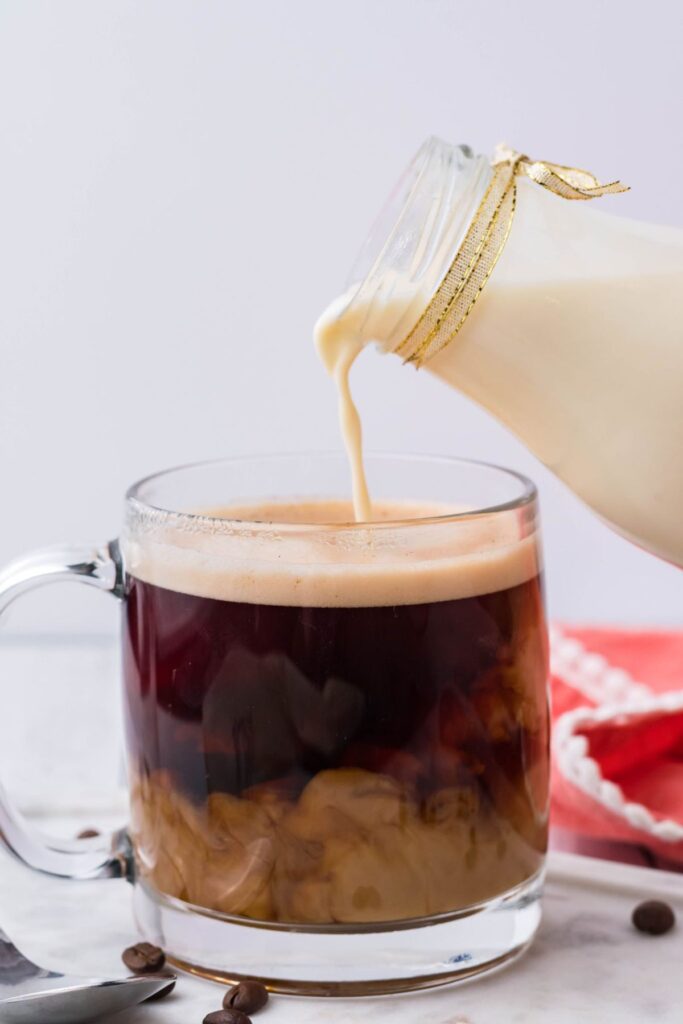
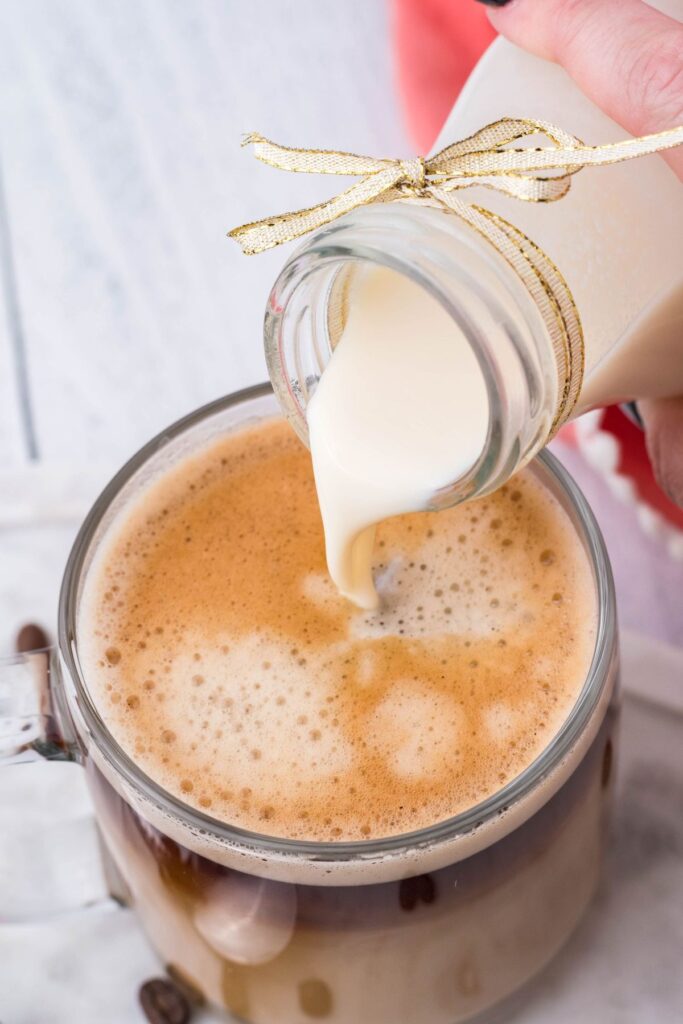
Start with 2-3 tablespoons per 8-ounce cup of coffee and adjust according to taste. This creamer works wonderfully in both hot and iced coffee preparations. For iced coffee, shake well before pouring for that beautiful swirl effect.
Storage Guidelines:
Store your homemade creamer in an airtight container in the refrigerator. It stays fresh for 10-14 days when properly stored. Always shake or stir before each use, as natural separation may occur.
Meal Prep Tips:
Make a double batch on Sunday to enjoy throughout the week. Label your container with the preparation date to track freshness. Consider making multiple flavors to keep your coffee routine exciting.
Nutritional Benefits / Advantages
Homemade coffee creamer offers several advantages over commercial alternatives:
– No artificial preservatives or chemical additives
– Fewer ingredients mean you know exactly what you’re consuming
– Customizable sweetness levels to match dietary needs
– Cost-effective—one batch costs significantly less than premium store brands
– Fresh taste that commercial products simply cannot match
– Allergen control for those with specific dietary restrictions
Common Mistakes to Avoid
Using Low-Quality Vanilla: Imitation vanilla extract produces inferior flavor. Invest in pure vanilla extract for noticeable taste improvement.
Incorrect Storage: Never leave creamer at room temperature for extended periods. Dairy-based creamers require consistent refrigeration.
Not Shaking Before Use: Separation is natural. Always shake your container before pouring to ensure consistent flavor and texture.
Overpowering Your Coffee: Start with less creamer than you think you need. You can always add more, but you can’t take it away.
Ignoring Expiration: Homemade creamer lacks preservatives. Discard after two weeks regardless of appearance.
Conclusion for This Recipe
Creating your own homemade coffee creamer 3 ingredients is a game-changer for any coffee enthusiast. This vanilla coffee creamer recipe delivers café-quality results without the café prices or mysterious ingredient lists. Once you experience the difference fresh, homemade creamer makes, you’ll never return to store-bought options.
Final Conclusion
Making homemade coffee creamer is one of the simplest yet most rewarding kitchen projects you can undertake. With just three basic ingredients and five minutes of preparation time, you’ll elevate your daily coffee experience dramatically. The versatility of this base recipe means endless flavor possibilities await your creativity.
Beyond the superior taste, you’re making a healthier choice for your body by eliminating artificial ingredients, preservatives, and excessive additives found in commercial creamers. The cost savings add up quickly too—a single batch provides approximately two weeks of delicious creamer for a fraction of store-bought prices.
We encourage you to experiment with different flavor combinations and find your perfect signature blend. Share your creations with fellow coffee lovers and spread the joy of homemade goodness. Your morning coffee will thank you!
FAQs
Q: How long does homemade coffee creamer last in the refrigerator?
A: When stored properly in an airtight container, homemade coffee creamer stays fresh for 10-14 days. Always check for any off-odors or unusual texture before using, and discard if anything seems questionable.
Q: Can I use this creamer in iced coffee?
A: Absolutely! This creamer works beautifully in both hot and iced coffee. For iced preparations, shake the container well before pouring to achieve that gorgeous layered effect. The creamer dissolves smoothly even in cold beverages.
Q: Is there a way to make this creamer lower in calories?
A: Yes! You can substitute the sweetened condensed milk with a sugar-free version or use a combination of fat-free milk and a sugar substitute. Keep in mind that texture and sweetness levels will vary with these modifications.
Q: Can I freeze homemade coffee creamer?
A: While technically possible, freezing is not recommended as it can affect the texture and cause separation upon thawing. The creamer may become grainy or watery. It’s best to make smaller batches and enjoy them fresh.
Q: What’s the best type of milk to use for the creamiest result?
A: Half-and-half produces the richest, most luxurious texture. Whole milk creates a lighter creamer while still maintaining good body. For the absolute creamiest result, you can even use heavy cream, though this significantly increases the calorie content.