
There’s something magical about homemade candy that brings back memories of grandmother’s kitchen and holiday traditions. If you’ve ever wanted to create that nostalgic sweetness without spending hours in the kitchen, you’re in the right place. This 3 ingredient peanut brittle is the perfect solution for busy home cooks who crave that classic candy shop taste without the fuss. Whether you’re preparing treats for a holiday gathering, making edible gifts, or simply satisfying your sweet tooth, this recipe delivers incredible results every time. The beauty of this easy peanut brittle recipe lies in its simplicity – just three pantry staples transform into a golden, crunchy confection that rivals anything you’d find at a gourmet candy store.
Table of Contents
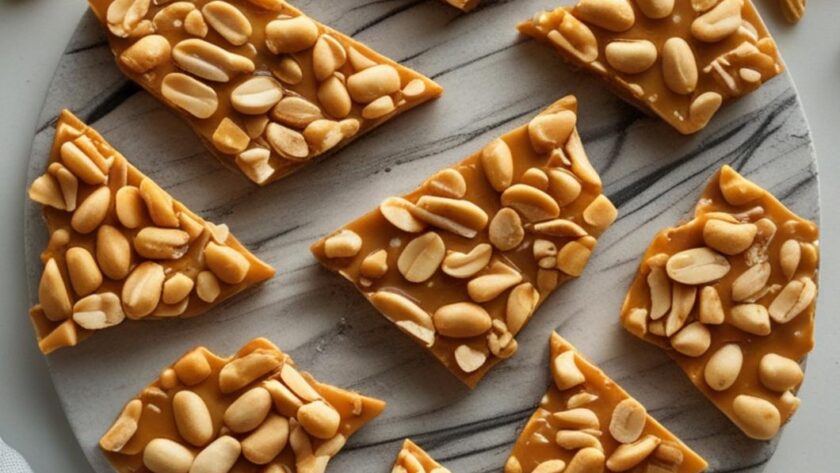
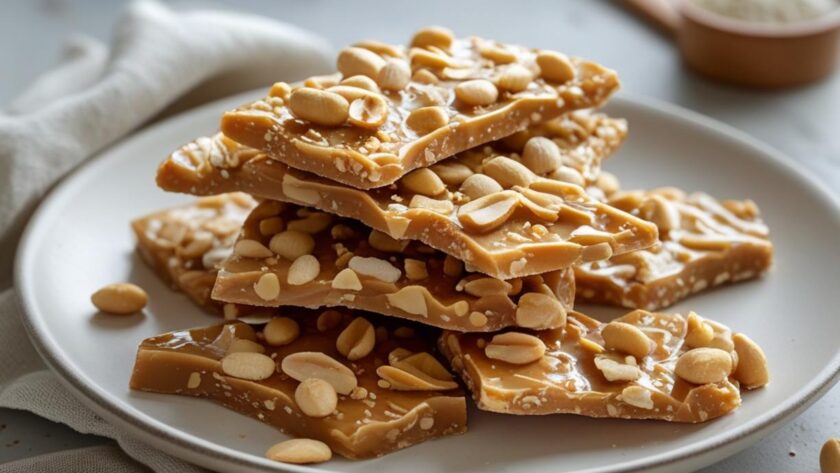
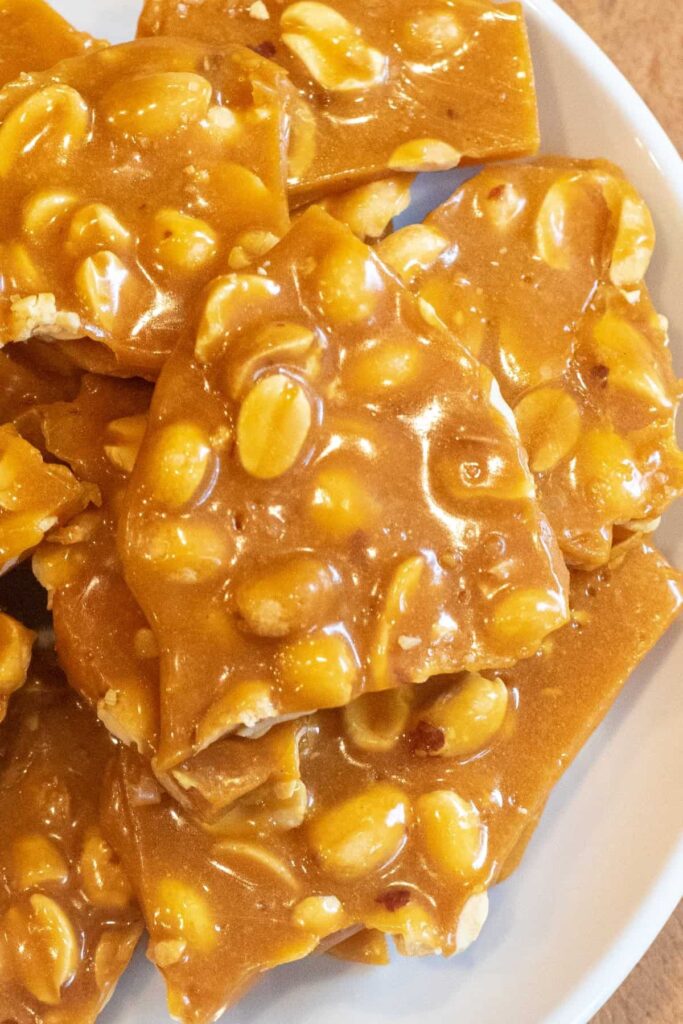
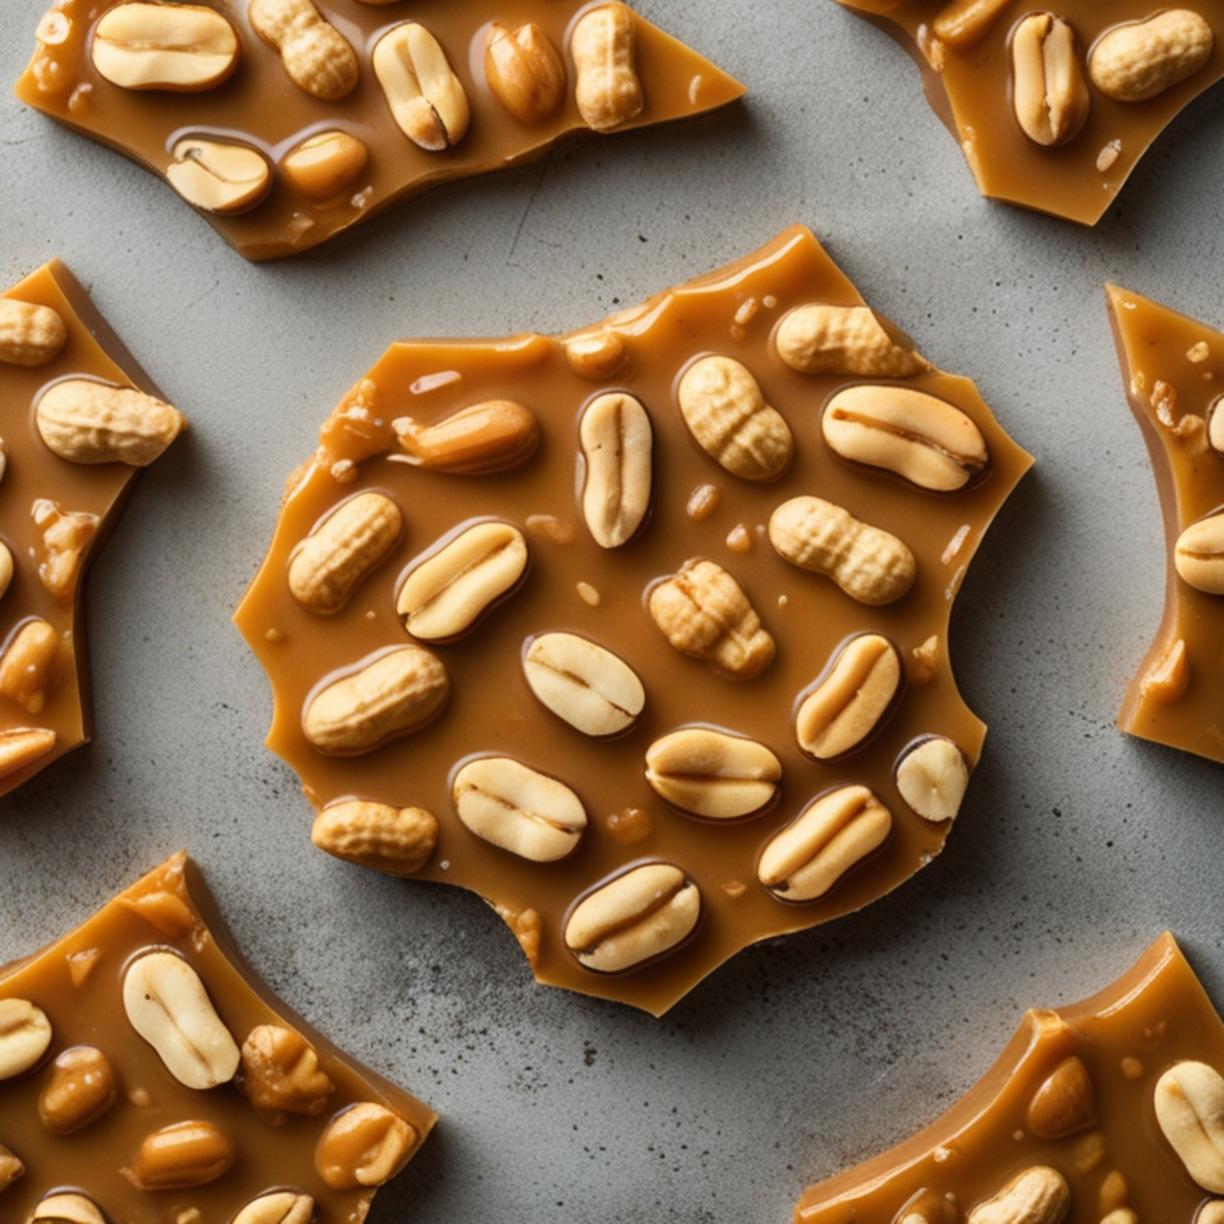
3 Ingredient Peanut Brittle That Melts in Your Mouth

This foolproof recipe proves that sometimes the simplest recipes yield the most impressive results. With just sugar, corn syrup, and peanuts, you’ll create a brittle that’s perfectly crispy, beautifully caramelized, and absolutely addictive.
Ingredients
– 1 cup granulated white sugar
– ½ cup light corn syrup
– 1 cup dry roasted peanuts (salted or unsalted, based on preference)
– 1 teaspoon baking soda (optional, for extra airiness)
– 1 teaspoon butter (optional, for added richness)
– ½ teaspoon vanilla extract (optional)
Step-by-Step Instructions
Step 1: Prepare Your Workspace
Before you begin, line a large baking sheet with parchment paper or a silicone baking mat. Lightly grease it with butter or cooking spray to prevent sticking. Have all your ingredients measured and ready because once the candy starts cooking, timing is everything.
Step 2: Combine Sugar and Corn Syrup
In a heavy-bottomed, microwave-safe glass bowl or measuring cup, combine the sugar and corn syrup. Stir them together until well mixed. This 3 ingredient peanut brittle starts with this crucial sugar foundation.
Step 3: Microwave the Sugar Mixture
Microwave on high for 4 minutes. Carefully remove and stir the mixture. Return to the microwave and cook for an additional 3-4 minutes until the mixture turns a beautiful golden amber color. Watch closely during the final minutes to prevent burning.
Step 4: Add the Peanuts
Carefully stir in the peanuts until they’re evenly coated with the hot sugar mixture. Return to the microwave and cook for 1-2 more minutes until the mixture reaches a deep golden color and the peanuts appear toasted.
Step 5: Add Final Ingredients
Quickly stir in the baking soda (if using), butter, and vanilla extract. The mixture will foam up slightly when you add the baking soda – this creates those characteristic air pockets that make brittle so wonderfully crunchy. This easy peanut brittle recipe truly shines when you work quickly during this step.
Step 6: Pour and Spread
Immediately pour the hot mixture onto your prepared baking sheet. Using a greased spatula or the back of a spoon, quickly spread the brittle as thin as possible. Work fast – the candy sets rapidly!
Step 7: Cool Completely
Allow the brittle to cool at room temperature for 30-45 minutes until completely hardened. Once cooled, break into irregular pieces of your desired size.
Tips & Variations
– Chocolate Drizzle: Melt dark or milk chocolate and drizzle over cooled brittle for an elegant touch
– Spiced Version: Add ¼ teaspoon cayenne pepper for a sweet-heat combination
– Mixed Nuts: Substitute almonds, cashews, or mixed nuts for peanuts
– Sea Salt Finish: Sprinkle flaky sea salt over the brittle immediately after spreading
– Stovetop Method: Cook in a heavy saucepan over medium heat, stirring constantly until reaching 300°F (hard crack stage)
Serving & Storage

Serving Suggestions:
Present your peanut brittle on a decorative platter for parties or package in cellophane bags tied with ribbon for thoughtful homemade gifts. Crush smaller pieces over vanilla ice cream or yogurt for a delightful crunch.
Storage Tips:
Store peanut brittle in an airtight container at room temperature for up to 2 weeks. Layer pieces between parchment paper to prevent sticking. Avoid refrigeration, as moisture causes the brittle to become sticky and lose its signature crunch.
Meal Prep:
Make large batches during the holidays and store in sealed containers. This candy ships well and makes excellent mail-order gifts for distant friends and family.
Nutritional Benefits / Advantages
While peanut brittle is certainly a treat, it does offer some nutritional positives:
– Protein: Peanuts provide plant-based protein for sustained energy
– Healthy Fats: Contains heart-healthy monounsaturated fats
– Minerals: Peanuts are rich in magnesium, phosphorus, and zinc
– Portion Control: The intense sweetness means a small piece satisfies cravings
– No Artificial Ingredients: Homemade brittle contains no preservatives or artificial flavors
Common Mistakes to Avoid
1. Not Preparing in Advance: Having ingredients unmeasured leads to burnt candy while you scramble
2. Using a Small Container: The mixture bubbles up significantly; use a container at least four times larger than the initial volume
3. Overcooking: The difference between perfect golden and burnt is mere seconds – stay vigilant
4. Spreading Too Slowly: Work immediately after adding baking soda; hesitation results in thick, uneven brittle
5. Storing Improperly: Humidity is brittle’s enemy; always use airtight containers
6. Touching Hot Candy: Melted sugar causes severe burns; never touch until completely cooled
Conclusion for This Recipe
Creating homemade candy doesn’t require culinary school training or expensive equipment. This 3 ingredient peanut brittle proves that exceptional treats come from simple beginnings. With just a few pantry staples and about 15 minutes of your time, you’ll produce a confection that tastes like you spent hours perfecting it. This easy peanut brittle recipe is destined to become your go-to for holiday gifts, party treats, and spontaneous sweet cravings. The satisfying snap of that first bite will have everyone asking for your secret – and you can proudly share just how simple it really is.
Final Conclusion
Mastering homemade peanut brittle opens the door to endless possibilities in your candy-making journey. This incredibly straightforward recipe demonstrates that impressive results don’t require complicated techniques or lengthy ingredient lists. Whether you’re a kitchen novice or an experienced cook, you’ll find joy in creating this classic American confection.
The beauty of this recipe lies in its versatility – customize it with different nuts, add festive sprinkles, or keep it classic. Either way, you’ll have a crowd-pleasing treat that stores beautifully and makes anyone feel special when they receive it as a gift.
Don’t wait for a special occasion to try this recipe. Gather your three ingredients today and experience the satisfaction of creating something truly delicious from scratch. Your taste buds – and everyone you share it with – will thank you!
FAQs
Q: Why did my peanut brittle turn out chewy instead of crunchy?
A: Chewy brittle usually results from undercooking or exposure to humidity. Ensure the sugar mixture reaches the proper amber color and store finished brittle in a completely airtight container away from moisture.
Q: Can I make peanut brittle without corn syrup?
A: Yes! Substitute honey or golden syrup, though the texture may differ slightly. You can also use a combination of granulated and brown sugar with a tablespoon of water.
Q: How do I know when the sugar mixture is ready?
A: Look for a deep golden amber color. If using a candy thermometer, aim for 300°F (hard crack stage). The mixture should smell caramelized but not burnt.
Q: Can I use raw peanuts instead of roasted?
A: Roasted peanuts are recommended because they’re already cooked and provide better flavor. Raw peanuts may not cook thoroughly during the brief candy-making process.
Q: My brittle stuck to the pan. What went wrong?
A: Always use parchment paper or a silicone mat and grease it lightly. Pour and spread the brittle quickly before it begins setting, as cooled candy is much stickier than warm candy.