

There’s something magical about finding a recipe that delivers maximum flavor with minimal effort. If you’ve ever wanted to impress guests at a potluck, create a quick appetizer for game day, or simply satisfy a craving for a classic comfort food, you’re in the right place. 3 Ingredient Deviled Eggs have become a beloved staple in kitchens across the country, and for good reason – they’re incredibly easy to make, budget-friendly, and absolutely delicious.
Whether you’re a beginner cook or a seasoned chef looking to simplify your routine, this Easy Deviled Eggs Recipe will become your go-to solution for any occasion. In this comprehensive guide, we’ll walk you through everything you need to know to create perfectly creamy, tangy, and satisfying deviled eggs with just three simple ingredients.
Table of Contents
The Perfect 3 Ingredient Deviled Eggs

This streamlined recipe proves that sometimes less truly is more. By focusing on quality ingredients and proper technique, you can create deviled eggs that rival any complex recipe.
Ingredients
– 6 large eggs (preferably at room temperature)
– 3 tablespoons mayonnaise (full-fat for best results)
– 1 teaspoon yellow mustard (or Dijon for a more sophisticated flavor)
– Optional garnish: Paprika, chives, or fresh dill
Step-by-Step Instructions

Step 1: Boil the Eggs Perfectly
Place your eggs in a single layer at the bottom of a saucepan. Cover them with cold water, ensuring there’s about an inch of water above the eggs. Bring the water to a rolling boil over medium-high heat. Once boiling, remove the pan from heat, cover it with a lid, and let the eggs sit for exactly 10-12 minutes.
Step 2: Create an Ice Bath
While the eggs are cooking, prepare a large bowl filled with ice and cold water. This ice bath is crucial for stopping the cooking process and making the eggs easier to peel. Transfer the eggs immediately to the ice bath and let them cool for at least 5 minutes.
Step 3: Peel and Halve the Eggs
Gently tap each egg on a hard surface to crack the shell, then roll it between your palms to create small cracks all over. Peel under cool running water for the smoothest results. Cut each egg in half lengthwise using a sharp knife, wiping the blade clean between cuts.
Step 4: Prepare the Filling
Carefully remove the yolks and place them in a medium bowl. Using a fork, mash the yolks until they’re completely smooth with no lumps remaining. Add the mayonnaise and mustard, then mix until the filling is creamy and well combined. This is where your 3 Ingredient Deviled Eggs truly come together.
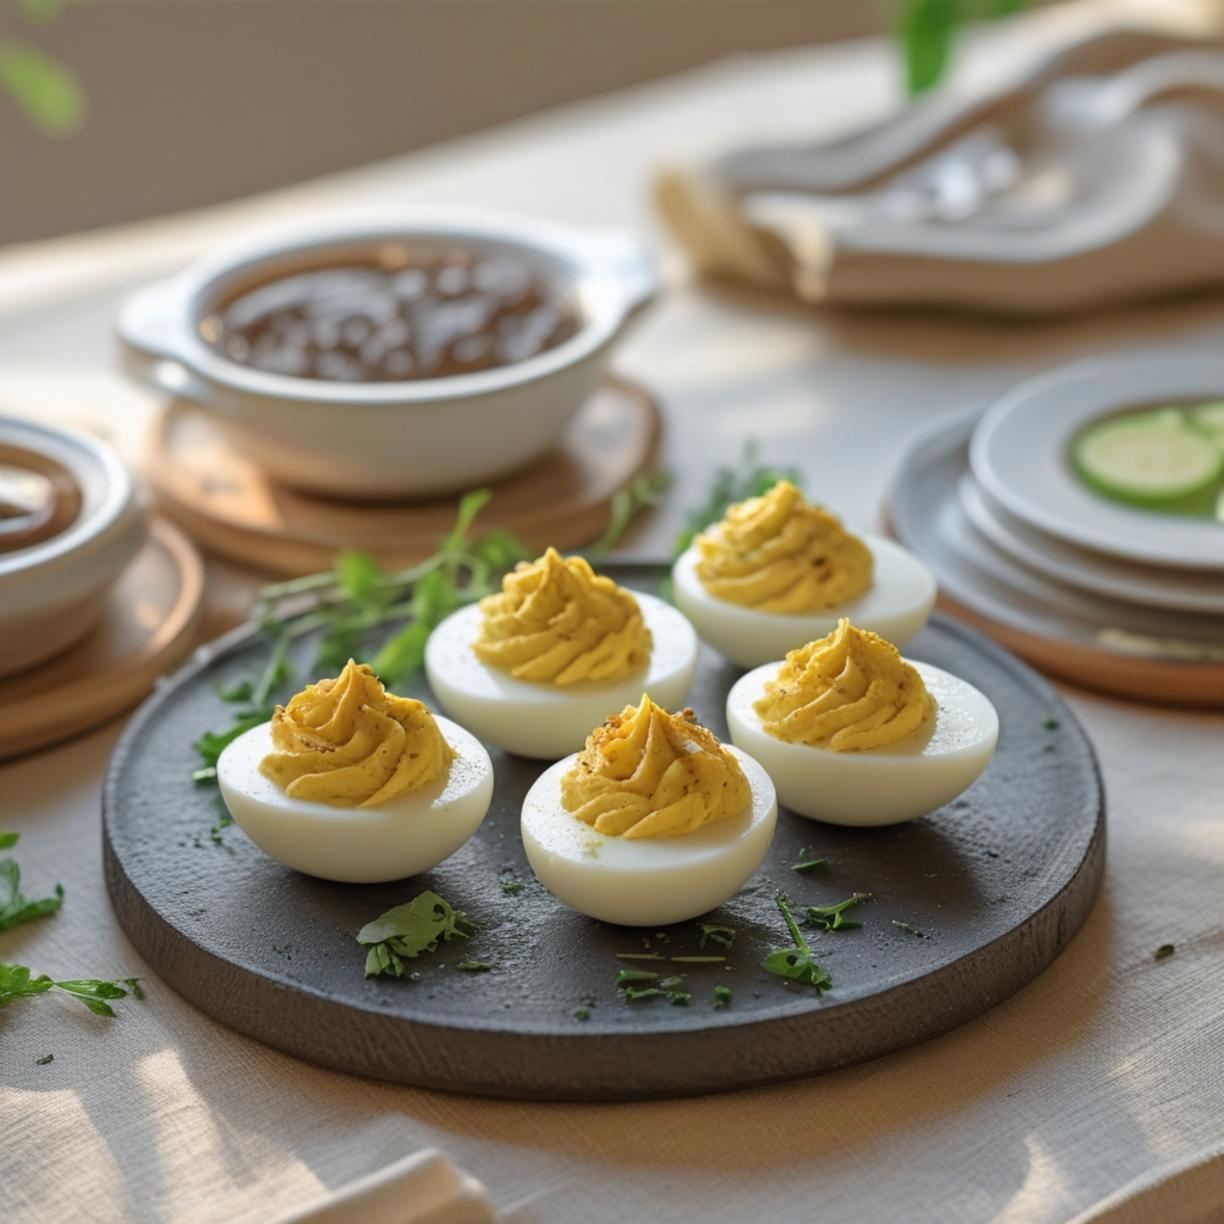
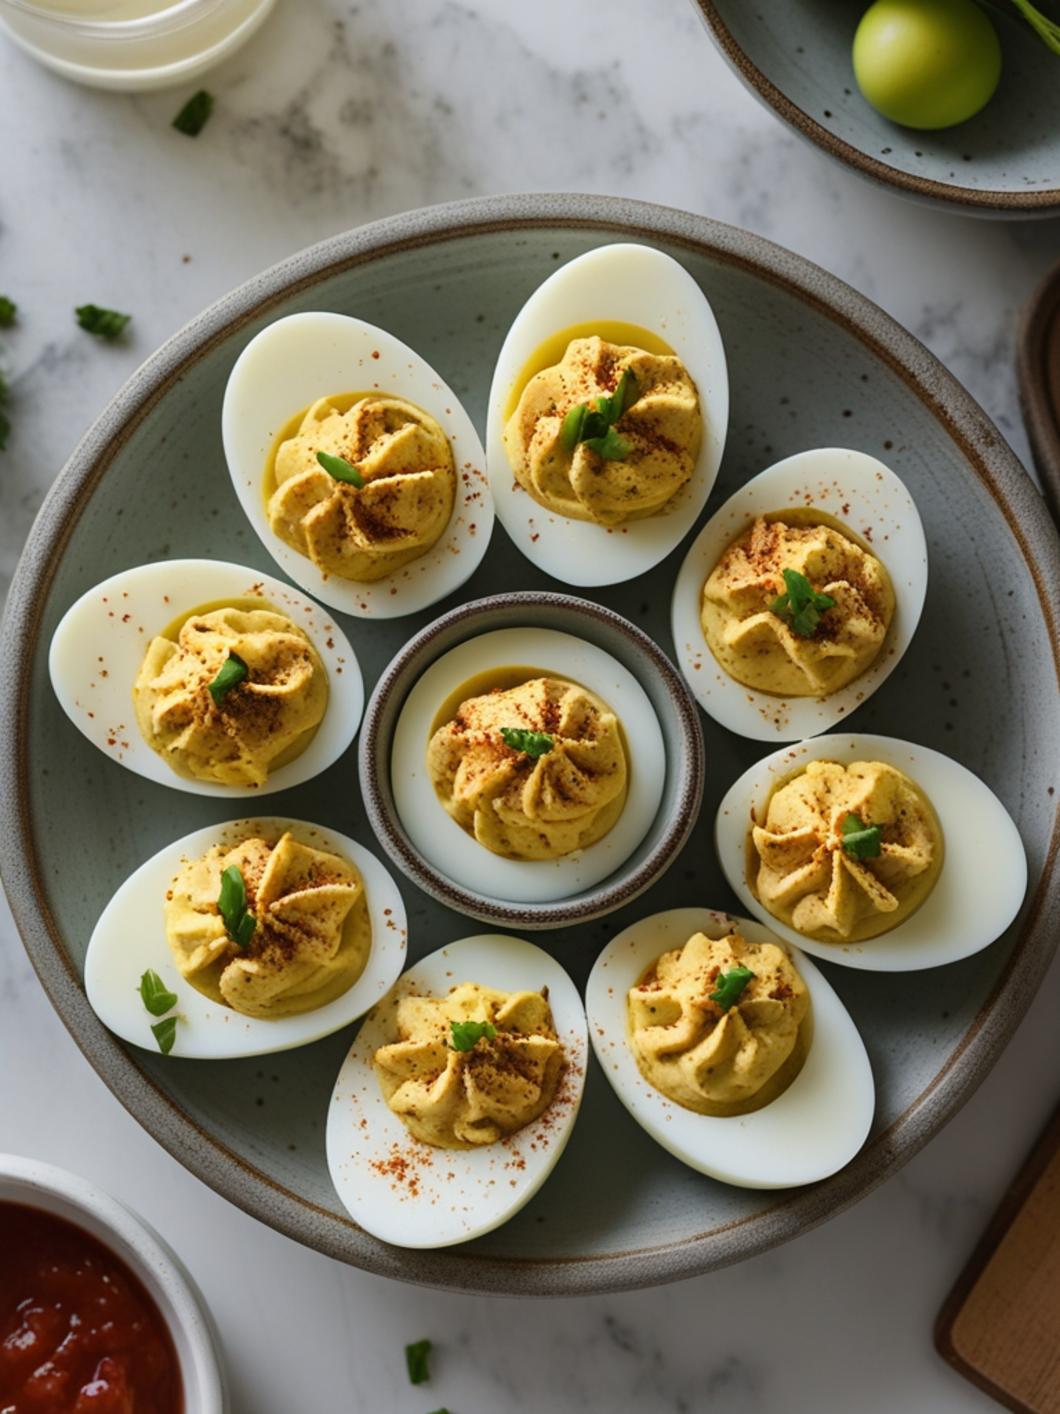
Step 5: Fill the Egg Whites
For a rustic presentation, simply spoon the filling into the egg white halves. For a more elegant look, transfer the filling to a piping bag or a zip-lock bag with one corner cut off, then pipe the mixture into each egg white cavity. Following this Easy Deviled Eggs Recipe ensures consistent, beautiful results every time.
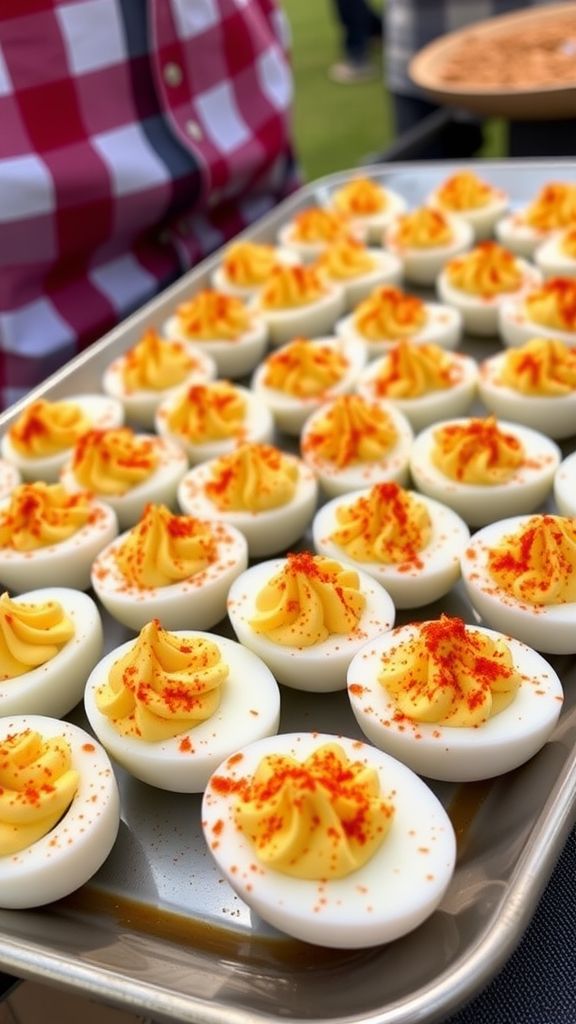
Step 6: Garnish and Serve
Sprinkle with paprika for color and a subtle smoky flavor. Refrigerate for at least 30 minutes before serving to allow the flavors to meld together.
Tips & Variations
– Make it spicier: Add a dash of hot sauce or cayenne pepper to the filling
– Go gourmet: Substitute Dijon mustard and add a squeeze of lemon juice
– Add crunch: Top with crispy bacon bits or fried shallots
– Make it healthier: Replace half the mayonnaise with Greek yogurt
– Southern style: Add a touch of sweet pickle relish
– Use older eggs: Eggs that are 7-10 days old peel much easier than fresh eggs
Serving & Storage
Plating Suggestions:
Arrange your deviled eggs on a decorative platter lined with fresh lettuce leaves or edible flowers for an impressive presentation. A specialized deviled egg tray keeps them secure and looking professional.
Storage Tips:
Store leftover deviled eggs in an airtight container in the refrigerator for up to 3-4 days. Place a damp paper towel over them to prevent the filling from drying out. For meal prep, you can store the filling and egg whites separately for up to 5 days, then assemble when ready to serve.
Make-Ahead Strategy:
Prepare the boiled eggs and filling up to 2 days in advance. Store them separately and assemble just before your event for the freshest taste and appearance.
Nutritional Benefits / Advantages
Deviled eggs are more than just delicious – they’re nutritionally dense:
– High-quality protein: Each egg provides about 6 grams of complete protein
– Essential vitamins: Rich in vitamins A, D, E, and B12
– Choline source: Important for brain health and metabolism
– Low carbohydrate: Perfect for keto and low-carb diets
– Satisfying fats: The combination of egg yolks and mayonnaise provides healthy fats that keep you feeling full longer
Common Mistakes to Avoid
1. Using Fresh Eggs
Fresh eggs are notoriously difficult to peel. Use eggs that are at least a week old for the best results.
2. Overcooking the Eggs
That gray-green ring around the yolk indicates overcooking. Stick to the timing guidelines and use an ice bath immediately.
3. Skipping the Ice Bath
This crucial step prevents overcooking and makes peeling significantly easier.
4. Under-Mashing the Yolks
Lumpy filling creates an unpleasant texture. Take the time to mash thoroughly or use a food processor for silky smooth results.
5. Overfilling the Whites
While it’s tempting to pile on the filling, overfilled eggs are messy to eat. Aim for a balanced ratio.
6. Serving Too Cold
Remove deviled eggs from the refrigerator 10-15 minutes before serving. They taste best when slightly cool, not ice cold.
Conclusion for This Recipe
Mastering 3 Ingredient Deviled Eggs opens up a world of possibilities for quick, impressive appetizers that everyone loves. With just eggs, mayonnaise, and mustard, you can create a crowd-pleasing dish that looks and tastes like you spent hours in the kitchen. This Easy Deviled Eggs Recipe proves that simplicity and deliciousness go hand in hand.
Final Conclusion
Deviled eggs have stood the test of time as a beloved appetizer, and this simplified three-ingredient version makes them more accessible than ever. By following the techniques outlined in this guide – from perfectly boiled eggs to creamy, well-seasoned filling – you’ll create deviled eggs that rival those from any gourmet kitchen.
The beauty of this recipe lies in its versatility. Once you’ve mastered the basics, you can experiment with countless variations to suit any taste preference or dietary need. Whether you’re hosting a holiday gathering, attending a potluck, or simply treating yourself to a protein-packed snack, these deviled eggs deliver satisfaction every single time.
Remember, the key to success is in the details: use older eggs for easier peeling, don’t skip the ice bath, and take the time to mash your yolks thoroughly. With these tips in your culinary arsenal, you’re ready to impress anyone who’s lucky enough to taste your creation.
FAQs
Q: How far in advance can I make deviled eggs?
A: You can prepare deviled eggs up to 24 hours in advance. For best results, store the filling and egg whites separately, then assemble 1-2 hours before serving.
Q: Why are my deviled eggs watery?
A: Watery filling usually results from overcooked eggs or adding too much mayonnaise. Make sure your eggs are properly cooked and start with less mayonnaise, adding more as needed.
Q: Can I freeze deviled eggs?
A: Unfortunately, deviled eggs don’t freeze well. The egg whites become rubbery and the filling separates upon thawing. It’s best to make them fresh.
Q: How do I prevent the green ring around my yolks?
A: The green ring forms from overcooking. Follow the timing precisely (10-12 minutes) and immediately transfer eggs to an ice bath after cooking.
Q: What can I substitute for mayonnaise?
A: Greek yogurt, sour cream, or avocado make excellent mayonnaise substitutes. Each offers a slightly different flavor profile while maintaining the creamy texture.
Easy Deviled Eggs
Ingredients
Method
- Place your eggs in a single layer at the bottom of a saucepan. Cover them with cold water, ensuring there's about an inch of water above the eggs.
- Bring the water to a rolling boil over medium-high heat. Once boiling, remove the pan from heat, cover it with a lid, and let the eggs sit for exactly 10-12 minutes.
- While the eggs are cooking, prepare a large bowl filled with ice and cold water.
- Once cooked, transfer the eggs immediately to the ice bath and let them cool for at least 5 minutes.
- Gently tap each egg on a hard surface to crack the shell, then roll it between your palms to create small cracks all over.
- Peel under cool running water for smooth results.
- Cut each egg in half lengthwise and remove the yolks to a medium bowl.
- Using a fork, mash the yolks until smooth, then add the mayonnaise and mustard, mixing until creamy and well combined.
- Spoon the filling into the egg white halves or transfer to a piping bag to fill for a more elegant presentation.
- Sprinkle with paprika for color and a subtle smoky flavor.
- Refrigerate for at least 30 minutes before serving to allow flavors to meld.